

No Dig Vegetable garden
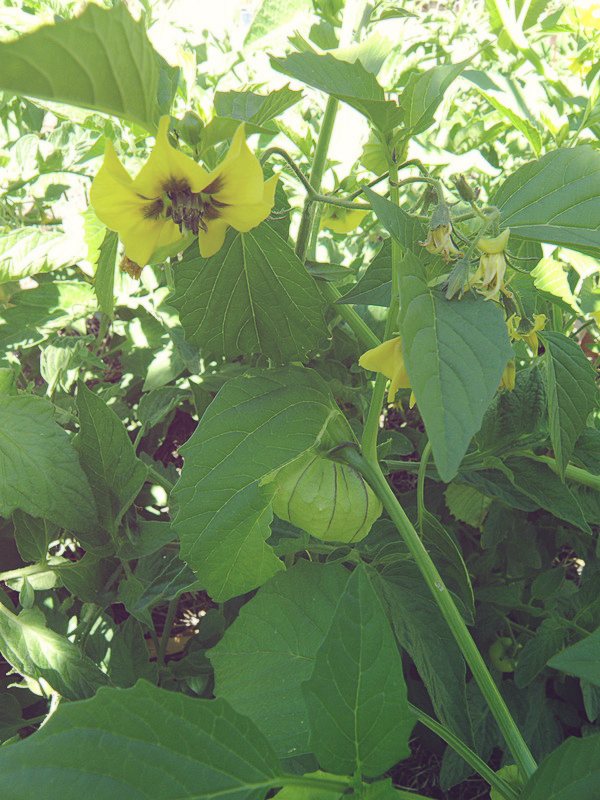
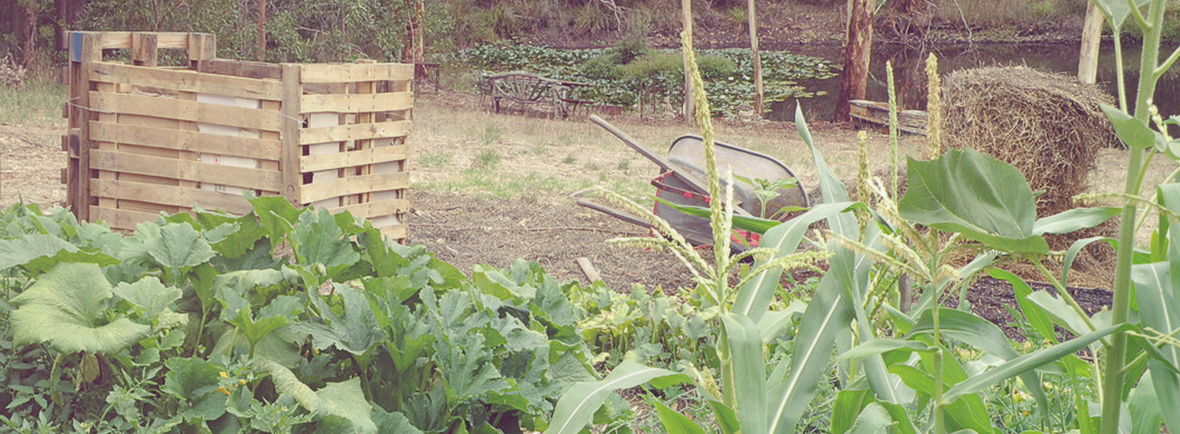
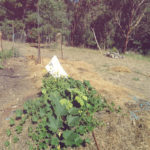
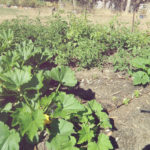
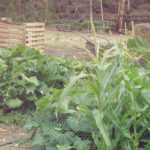
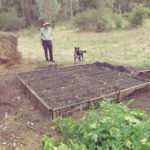
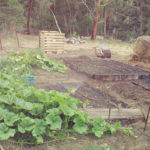
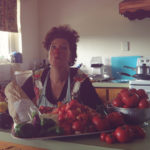
Last spring our GPG team had great fun setting up a vegetable patch on the property of our dear, generous friend and fellow gardener, Penny O’Hare. We started with a bare paddock with awful stony soil and now we’re been picking masses of tomatoes, squash, zucchini, beans, capsicum and cucumber! We’ve just planted our root crops for winter and they’re already up and running.
I love to let nature work for me, rather than battling the elements and working against the environment. This is why we chose the ‘no-dig’ garden method for our new vegetable bed.
My own garden mentor is my gorgeous mother, Coralie Wollaston Williams. She eagerly adopted this method in the 1970’s, after reading Esther Dean’s iconic Australian gardening book, ‘Growing without Digging’. Mum had very difficult soil to work with, hard clay and shale, and as a young girl I can remember helping her layer the garden with newspaper, straw, compost and manure gathered from the paddocks. She still gardens this way in her mid-80’s and her garden is a healthy picture, full of gorgeous friable soil and worms.
I’d like to share what we’re doing, and perhaps it may inspire you to start a small veggie or flower plot garden, or to extend an existing one.‘No-dig’ gardening is basically building up layers of organic matter on top of the ground, that support plants while breaking down into soil. The worms and creatures do all the work of assisting the composting process and improving the goodness and structure of the soil, while you get to enjoy a lovely harvest. Some people wait until the layers have broken down before planting into the garden, but Esther Dean and my mother were too impatient, and planted into the new beds immediately!
A No-dig garden –
- can be built over existing garden beds, lawns and even hard or rocky ground
- can be of any size or shape
- can be used inside raised garden beds
- are easy to build and virtually maintenance free
- can be built anywhere, any time, to any design
The most important things to remember are:
- Like composting, you need a good balance and mixture of carbon and nitrogen materials (please refer to my previous post on composting). I like to add a greater nitrogen component in the form of manures and lucerne hay, as nitrogen available for the plant is the main ingredient lost in the composting process.
- The layers need to be watered well, as the garden needs to be moist to function properly. You will also need to keep it moist for the worms, which are an essential part of the no-dig garden, and will invade the area naturally and aerate the soil.
- You will need to top up the beds with compost and mulch after each crop, as the garden ‘shrinks’ and the goodness is used up by the hungry plants.
How to make your ‘no-dig’ garden
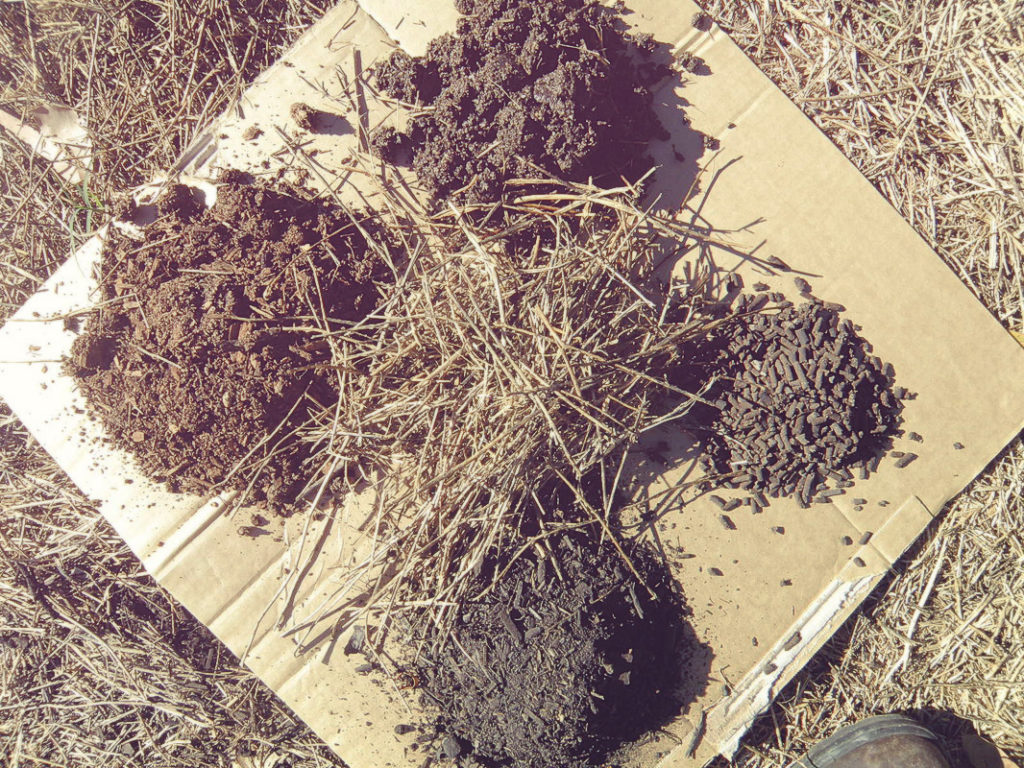
Gather your ingredients first…
- Newspaper or cardboard
- Lucerne hay or pea straw
- Manure
- Organic fertilizer
- Compost
- Plants or seeds
Carefully choose the position for your patch.
If you are growing vegetables, choose a site that will get enough sunlight, at least 4 hours of sun per day.
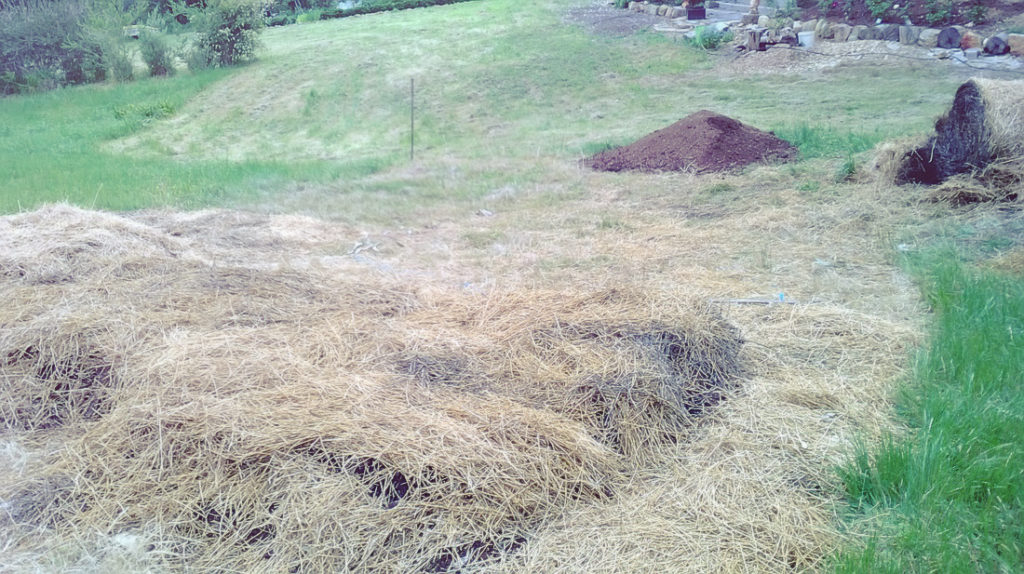
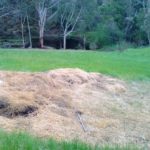
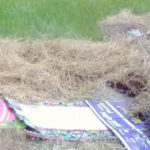
Mark out the area and prepare. If building on lawn, mow the grass. If using a border or a raised garden container, put it in place. I add a buffer around my beds, using paper and straw to suppress the weeds.
Now you can start building your layers.
- Start with a layer of paper. Using wet newspaper or cardboard, cover the entire area with a layer that is at least half a centimetre thick. Overlap the edges so there are no gaps for weeds to grow through. This first layer kills off any weeds and stops new ones growing.
- The second layer is of lucerne hay or pea straw. Lay down sections of the hay to a height of about 10cm and water lightly. This layer will break down easily and add nitrogen to the bed.
- Next is a manure layer. We used well rotted horse manure but any type is good as long as it is at least partially broken down.
- The fourth addition is a good organic fertilizer. We use pelleted slow release chicken manure at the rate of 1 cup to 1 square meter.
- The fifth layer is of compost. You can use your own or buy some in. We used locally made organic compost which we bought in bulk, only because we had a large area and we didn’t have enough compost of our own.
- Repeat steps 4, 5 and 6.
- Cover with a loose layer of straw, about 15cm thick.
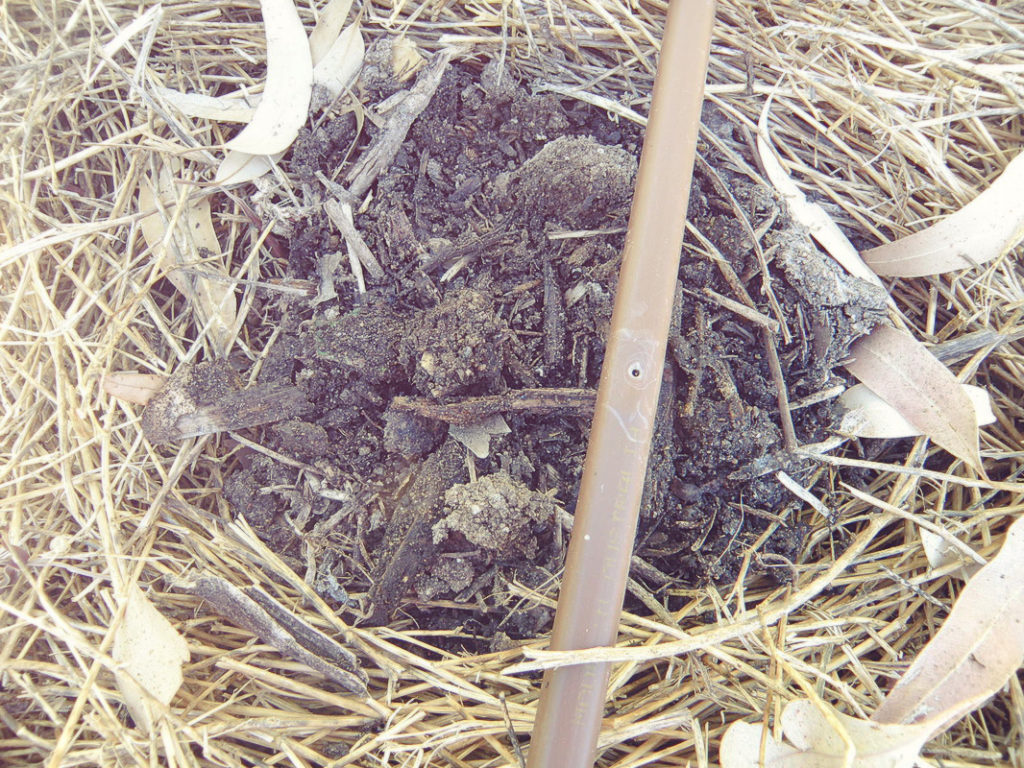
- Finally make pockets of good compost in the straw for planting. We used our own home made compost, as it contains worms and other micro-organisms necessary for a healthy garden.
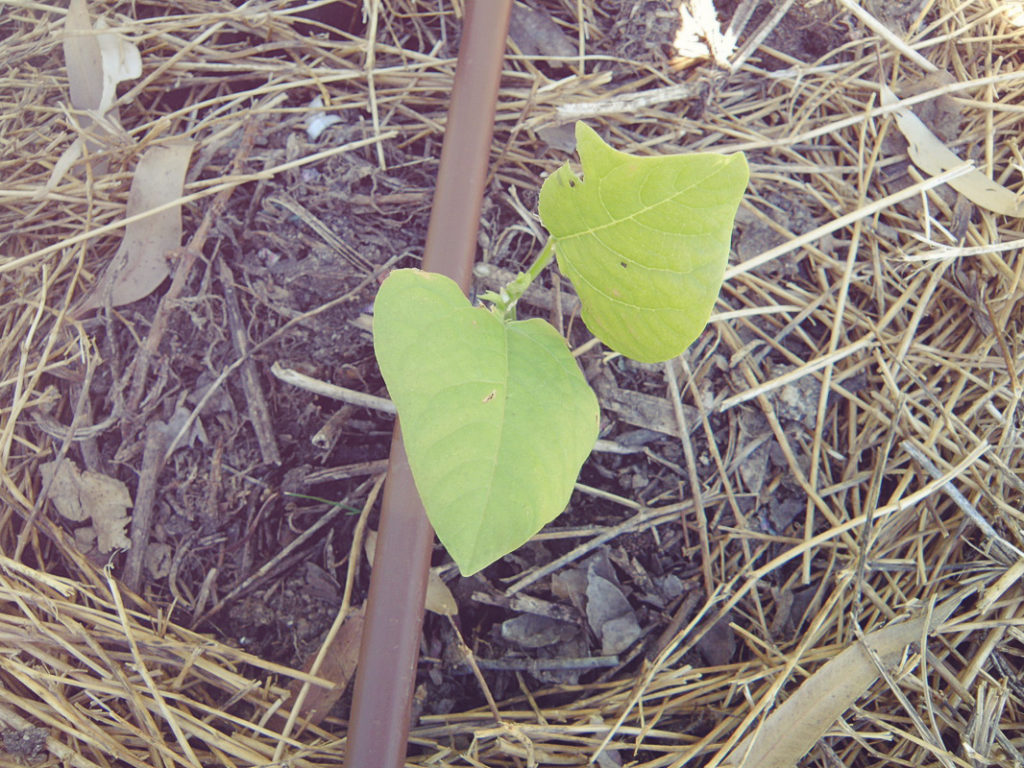
- Then it’s time to plant! For a new bed, seedlings are easier to manage, although you can also try seeds.
Our journey in pictures…

So please have a go at starting or extending your own vegie garden – it’s so rewarding and very tasty. And you can subscribe to the website and ‘like’ us on Facebook to keep up with what we are doing with our ‘no-dig’ garden plot.
Happy gardening until next time,
Cheers Amanda